Not sure what to do with the leftover milk baby didn’t finish? Let’s turn it into soap!
If you’ve ever breastfed or pumped, you know how hard it can be to pour breastmilk down the drain. Whether you have a little extra milk in the fridge, milk your baby didn’t finish, or some older milk in the freezer that you no longer plan to use for feeding, making breastmilk soap is a simple way to give it another purpose.
Breastmilk naturally contains fats that can make a homemade soap feel creamy and moisturizing on the skin. For our family, I love having another way to use something I worked so hard to make—especially in a household where we’re always trying to be mindful of the products we use on our babies’ sensitive skin.
And the best part? Breastmilk soap is surprisingly easy to make. I use a simple melt-and-pour soap base and just a few ingredients, making this a great project even if you’ve never made soap before.
Below, I’ll walk you through exactly how I make our breastmilk soap and what you’ll need to never waste your hard-earned breastmilk again.
A quick note: This recipe is intended as a homemade skincare project. Always patch-test new products on your baby’s skin and stop using them if irritation develops.
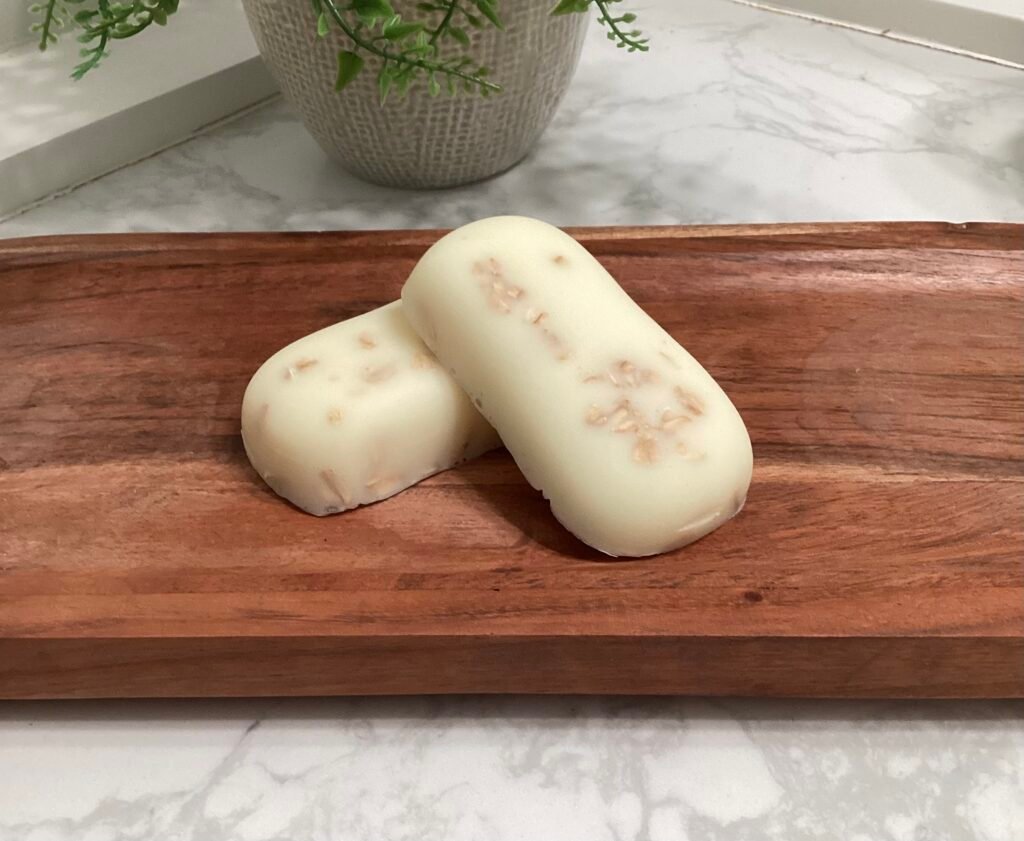
Ingredients:
1lb Shea butter soap base
1 teaspoon of honey
6oz of Breastmilk
1 handful of oats
5-10 drops of essential oils (optional)
You will also need a silicone soap mold which can be purchased from Amazon
Directions:
- Cut the soap into cubes and put into a large glass measuring cup
- Melt the soap base using the double boiler method; placing water into a pot, place the measuring cup with soap inside. Stir frequently until fully melted
- Mix in the honey and essential oils. And lastly, the Breastmilk. Mix until fully combined.
- Place a few oats at the bottom of your soap mold and slowly pour your mixture into the molds, adding oats all throughout the mixture.
- Allow soaps to cool and harden for at least 1 hour (I let mine sit overnight)
Makes approximately 4-6 bars of soap